


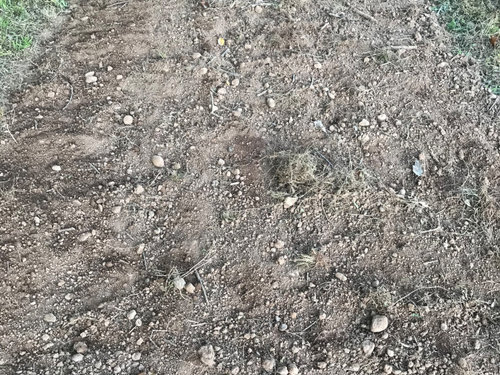
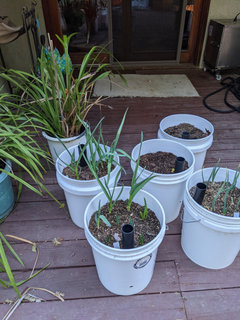
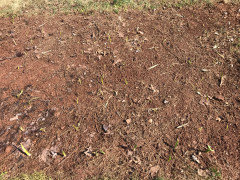
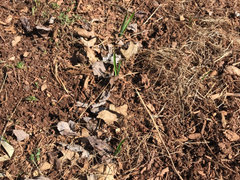
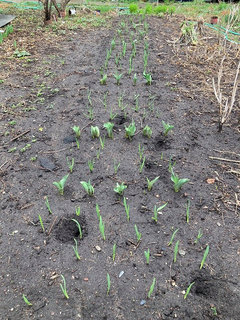
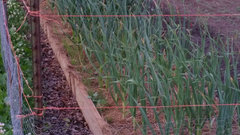
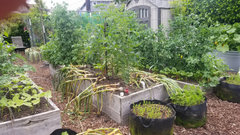
Garlic Planting 2021
RedSun (Zone 6, NJ)
3 years ago

Featured Answer
Sort by:Oldest
Comments (103)

biondanonima (Zone 7a Hudson Valley)
3 years ago
wcthomas
3 years agoRelated Discussions
Spring Fling 2021 plant list
Comments (137)Hi Everyone. Got eggs boiling for deviled eggs and am about to organize plants too. Regina, I have extra Jet Setters and Amish Paste and one Roma if you're interested in any of those. Jen, I am about to dig up several of those tiny seedlings that I think are LB petunias. I'll bring several, but will put your name on one. Here's what I have down. I tried to put notes on my phone, but may have missed something. Nancy--Jet Setter and cardinal climber Rebecca -- cardinal climber Amy--LB petunia Lisa--cardinal climber Kim--2 Amish Paste and 1 Jet Setter Jen--LB petunia Kim, I took a piece of the coral honeysuckle and put it in a jar of water a week or two ago, but it didn't make roots. I recently read that a LARGE 3 ft. piece of plant needs to be put in water. The piece I took was much smaller. Do you want me to bring (in water) a 3 ft piece to try? Okay, let me know what I've forgotten....See MoreGarlic Thai chile hot sauce (2021)
Comments (11)1). The most important piece of hardware is an airlock of some sort that fits your fermenting container. I use mason jars with a beer/wine airlock. This is essential to preventing mold. 2). Use any peppers you like, from heatless Bell peppers to the hottest peppers on the market, or a combination of peppers for color, bulk, flavor, and heat. In my ferment, I used 700+ Thai chiles. Coarsely chop your peppers so you can see if there's any mold or pest inside; you can also remove some seeds at this time, which makes the sauce easier to process in the long run (I strain out seeds, so the fewer in the ferment the better). 3). You can make a hot sauce purely from peppers alone, but I like to add garlic at the very least. The flavors pair so well together. In this ferment, I added a lot of garlic and half a white onion. Coarsely chop the ingredients to increase surface area, and to make blending easier after the fermentation is finished. 4). The brine. I make my brine from 1 Tablespoon of sea salt per 1 cup of water. Many people will say to use distilled water, but I use tapwater and I've not had a problem. If your tapwater is really weird in some way, I'd recommend bottled water or distilled water. You can also use fancier salts if you like, such as pink Himalayan salt, but don't use iodized table salt. 5). Fill the jar, leaving about 1/2 to 3/4 inch headspace at the top. You need to make sure that your vegetable ingredients are under the surface of the liquid brine to prevent mold from forming, and this can be done with pickling weights, a ziplock filled with water, or other clean household items that will work. I wad up some plastic clingwrap and wedge the ingredients down. Then secure the airlock, making sure that the stem of the airlock is not in the brine directly. 6). Ferment for as long as you like. After 2 weeks, most of the fermentation will be finished, but you could keep going for several years if you want. When ready to process, strain the vegetables from the brine. Dump the vegetables into your bowl, then add *half* of the liquid brine to the bowl. The other half, add in white vinegar (or a vinegar of your liking). So, if you have 4 cups of brine, add in 2 cups of the salt brine, and 2 cups of the vinegar. You can save the rest of the brine for marinating, cooking, bloody mary's, or for using in your next ferment. 7). Blend everything smooth. I personally use an immersion blender, but people use traditional blenders, food processors, food mills, et cetera. At this point, you're essentially done. However, I go to the extra step of running the sauce through a sieve to remove as many seeds as possible - seeds are bitter, and I can't stand them, and I think they ruin the visual aesthetic of the sauce in the bottle. 8). Taste the sauce. Add more vinegar, more brine, citrus juice, spices. Get the flavor where you want it. To thicken the sauce, I slowly incorporate small amounts of Xanthan Gum while blending - a little goes a long way, so sprinkl e in 1/8 of a teaspoon slowly, testing the consistency as you blend. To thicken a sauce, you could also simmer and cook down your sauce, or use a cornstarch slurry during the heating process. 9). Bottling. Use sanitized bottles, fill, cap, and you're good to go. If you have any concerns about the sauce, store in a refrigerator; otherwise, the sauce should have enough acid (vinegar) to be shelf/table stable....See MoreAnnual London ON Plant Swap 2021
Comments (32)Rhubarb Cake Recipe - Raparperipaistos This recipe is based on Merja’s recipe, but rounded up and down for ease of Imperial measurements. 4 cups of rhubarb (cut in pieces) 0.5 cup of sugar 2 tsp of corn starch Top part: 1 tsp of baking powder 0.75 cup of flour 2 eggs 0.5 cup of sugar 0.5 cup of melted butter 1 tsp of vanilla extract 1. Preheat Oven to 350 degrees 2. Butter a baking dish and pour in your rhubarb pieces. 3. Mix together sugar and corn starch, and sprinkle it on top of the rhubarb. 4. Cover with foil and bake in the oven for 15 - 20 min. at 350 degrees. Remove from oven. 5. Mix together the flour and baking powder in a small bowl. 6. In a bigger bowl whisk together eggs and sugar until foamy. 7. Mix in melted butter, dry ingredients, & vanilla extract. 8. Spread the mixture on top of the rhubarb. Bake in 350 degrees for 20 - 30 min. Good on it's own or with ice cream, whipped cream or vanilla sauce. Enjoy! Notes: <ooops - I more than doubled the amount of fruit to 10 cups of rhubarb in a 10” x 12.5” pan– and loved it!! > Original recipe called for 0.42 cups of dried coconut – not my thing so I omitted it....See MoreIce plants 2021 - show your pictures
Comments (12)nancyjane, the carved buffalo was a gift to my husband in the late '90s so is quite old. Chunks of wood have come off the base and one of the horns doesn't want to stay attached but he keeps putting it back together. I thought it would be good to try and pin the horn back on with a metal pin driven through the horn and into the head but he doesn't think the wood had enough integrity for the pin to work. It is quite split. He put some Gorilla glue on it today and tried to clamp it but the clamp was too heavy so he laid it down on the ground to let it cure. KW, we actually thought he was part corgi because he has short legs and an elongated body. Was really surprised to see the dachshund show up. He was a rescue from a hording situation in Kansas and the other dogs we saw from there were much smaller but they were likely all related....See MoreLoneJack Zn 6a, KC
3 years ago
OldDutch (Zone 4 MN)
3 years ago
nanelle_gw (usda 9/Sunset 14)
3 years agolast modified: 3 years agoOldDutch (Zone 4 MN)
3 years ago
beesneeds
3 years ago
RedSun (Zone 6, NJ)
3 years agobiondanonima (Zone 7a Hudson Valley)
3 years agobeesneeds
3 years ago
rich baroch
3 years agoRedSun (Zone 6, NJ)
3 years agozeedman Zone 5 Wisconsin
3 years agoRedSun (Zone 6, NJ)
3 years agorich baroch
3 years agoOldDutch (Zone 4 MN)
3 years agobiondanonima (Zone 7a Hudson Valley)
3 years agoOldDutch (Zone 4 MN)
3 years agolast modified: 3 years agoLoneJack Zn 6a, KC
3 years agolast modified: 3 years agoOldDutch (Zone 4 MN)
3 years agozeedman Zone 5 Wisconsin
3 years agobiondanonima (Zone 7a Hudson Valley)
3 years agoLoneJack Zn 6a, KC
2 years agobiondanonima (Zone 7a Hudson Valley)
2 years agoOldDutch (Zone 4 MN)
2 years agozeedman Zone 5 Wisconsin
2 years agozeedman Zone 5 Wisconsin
2 years agobeesneeds
2 years agoLoneJack Zn 6a, KC
2 years agoOldDutch (Zone 4 MN)
2 years agobiondanonima (Zone 7a Hudson Valley)
2 years agoOldDutch (Zone 4 MN)
2 years agobiondanonima (Zone 7a Hudson Valley)
2 years agolast modified: 2 years agokevin9408
2 years agobiondanonima (Zone 7a Hudson Valley)
2 years agoOldDutch (Zone 4 MN)
2 years agowcthomas
2 years agobiondanonima (Zone 7a Hudson Valley)
2 years agozeedman Zone 5 Wisconsin
2 years agolast modified: 2 years agobiondanonima (Zone 7a Hudson Valley)
2 years agoLoneJack Zn 6a, KC
2 years agobiondanonima (Zone 7a Hudson Valley)
2 years agoLoneJack Zn 6a, KC
2 years agoOldDutch (Zone 4 MN)
2 years agolast modified: 2 years ago PRO
PROLen NW 7a
2 years agozeedman Zone 5 Wisconsin
2 years agozeedman Zone 5 Wisconsin
2 years agobeesneeds
2 years agoDalton Bourne
8 months ago

Related Stories
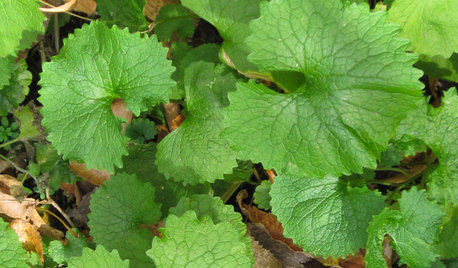
GARDENING GUIDESDo You Have This Invasive Plant in Your Yard?
Garlic mustard is spreading across the U.S. Here’s how to spot it and what to do
Full Story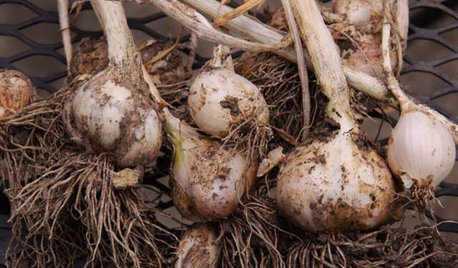
COOL-SEASON CROPSCool-Season Vegetables: How to Grow Garlic
Beloved in a wide range of dishes the world over, garlic thrives in a fall garden and is easy to grow
Full Story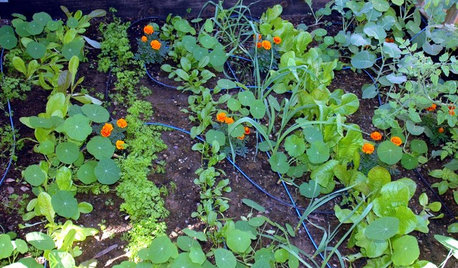
EDIBLE GARDENSGarden BFFs? Why Your Vegetables Are Begging for Companion Plants
Foster friendships among plants for protection from pests, pollination support and color camaraderie
Full Story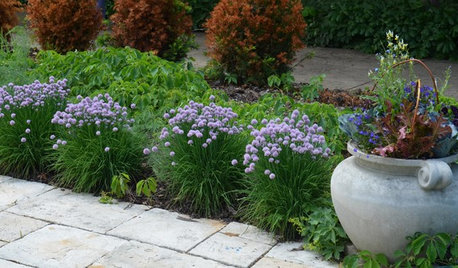
GARDENING GUIDESEdible Plants That Double as Ornamentals
Try growing these tasty plants with your ornamentals for an attractive garden and fresher meals
Full Story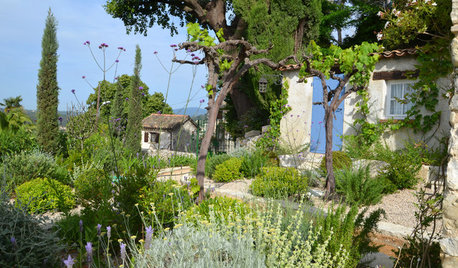
PLANTING IDEASPlant These Garden Favorites for a Taste of the Mediterranean
These 8 gorgeous and fuss-free plant combinations evoke the style of the region, villa not included
Full Story
LANDSCAPE DESIGNPantone’s 2021 Color of the Year Looks Optimistic in Landscapes
See 9 ways to use Pantone’s pairing of Illuminating, a bright yellow, and Ultimate Gray in your outdoor space
Full Story
EVENTS7 Home Decor Highlights at Atlanta Market Winter 2021
Here are some of the standout looks in furniture, lighting and accessories at the January trade show
Full Story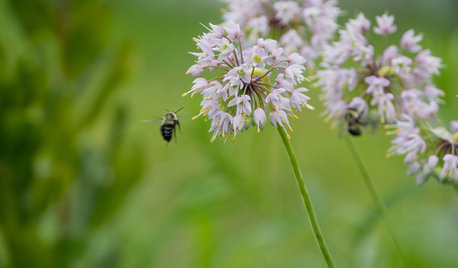
FALL GARDENINGGreat Design Plant: Low-Maintenance Allium Cernuum
Nodding onion is a Mid-Atlantic native bulb with beautiful midsummer blooms
Full Story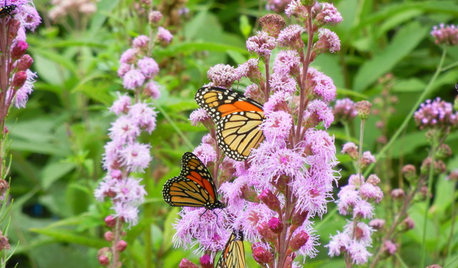
PLANTING IDEAS5 Summer-Blooming Bulbs to Plant This Spring
These fast-growing bulbs will brighten your garden this summer
Full Story
LATEST NEWS FOR PROFESSIONALSDesign Trends From the Maison & Objet 2021 Digital Days
Online seminars pointed to decor with a touch of humor and joy, natural influences and a sustainable story
Full StorySponsored
More Discussions
beesneeds